A year ago today (January 9th, 2021) I deployed what I consider my first production-grade instance of Home Assistant and couldn’t be happier. It is an amazingly powerful tool that is 100% free and open source. One of Home Assistant’s key features is the fact that it takes a local first approach to everything. By that I mean that every aspect of the project makes a concerted effort to not rely on the internet or cloud services unless they are absolutely required, such as when integrating with a vendor who does not have a local api (or won’t provide access to it to the community). This means that if the internet is out I can still control the vast majority of the devices connected to Home Assistant using either the web interface or the app on my phone… and push notifications from Home Assistant to my phone will continue to work too.
This post describes what my setup looks like today in hopes that it will inspire and/or help others automate things around their home. I cannot recommend Home Assistant enough, and that’s not just for techies like myself. It can provide significant benefits for the non-technically inclined too.
Home Assistant Itself
My setup is based on a Raspberry Pi 4 that has 8GB of RAM. It is housed in a Cooler Master Pi Case 40.
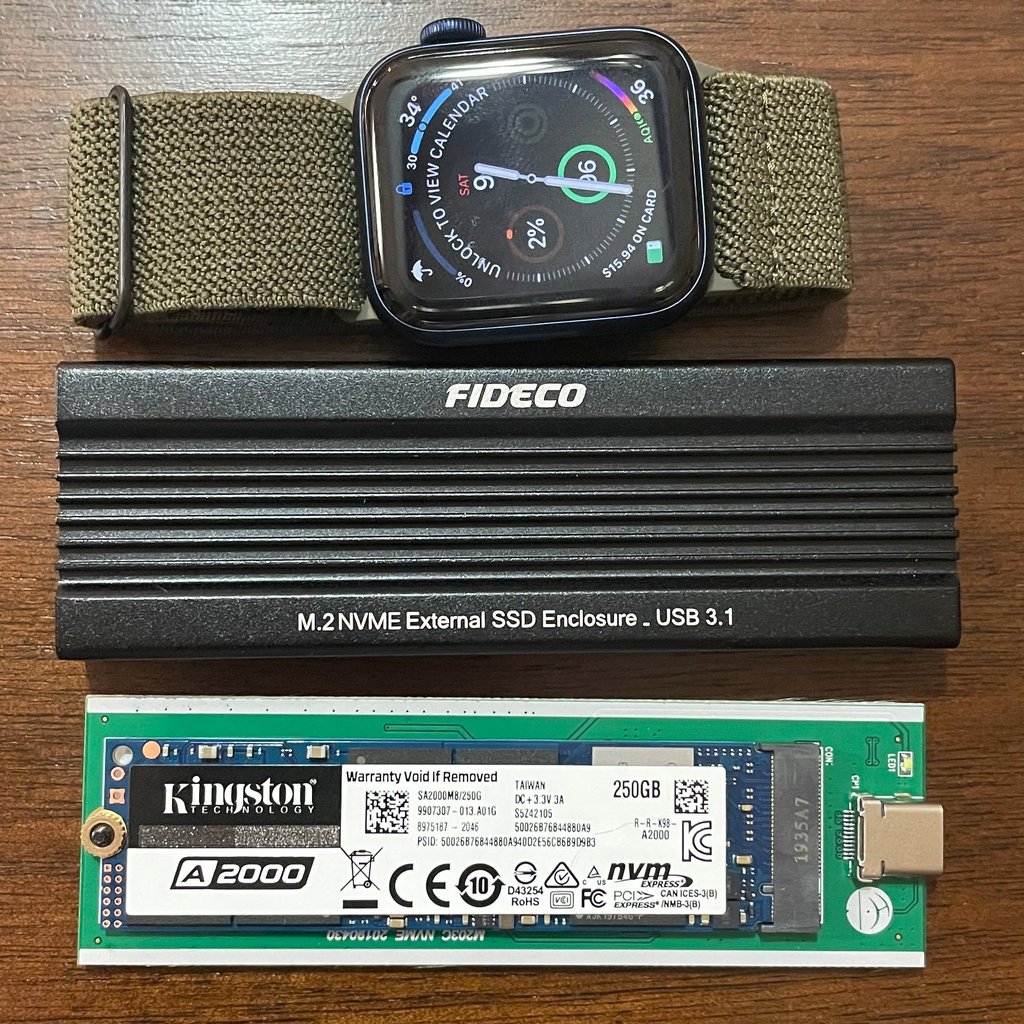
Storage wise, I am using a Kingston 250GB A2000 M.2 2280 NVMe drive housed in a FIDECO USB C Gen 2 enclosure. The picture below was taken right after I put things together and just before I slid the lower parts into the black housing.
I configured my Pi so that it will boot from the NVMe drive and then installed Home Assistant Operating System per their instructions. There is no SD card in my Pi at all.
The setup is fast and rock-solid reliable.
Nabu Casa
The founders of Home Assistant also a company to make the project sustainable. For a measly $5 a month (1 Startbucks drink) you get a secure way to control your home when not at home… with zero technical know how required on your part. No fiddling with routers or anything like that. I love what they provide and find it to be a great value that has the bonus of supporting Home Assistant’s development. Check it out for yourself at nabucasa.com. And, though it may sound otherwise, they have not asked me to say any of this nor am I being compensated in any way. I just really believe in their service and work.
Zigbee
Over time I have accumulated nearly 30 devices that utilize the Zigbee protocol. Initially, I just had Philips Hue bulbs and one of their hubs. That all changed once I decided to start adding devices that weren’t part of the Hue product line. I transitioned from the Hue hub to a ConBee II and the deCONZ software. Though I was able to easily move my Hue bulbs from the Hue hub to the ConBee II, I quickly ran into problems with both the hardware and software.
ConBee II
On the hardware side, the radio in the ConBee II was just too weak for use where I needed it in my house and resulted in really poor reliability. I replaced it with the CC2652P2 Based Zigbee to PoE Coordinator V2 made by tubesZB. I can’t recommend this coordinator enough. Even if it is out of stock initially, it is worth waiting for.
deCONZ
On the software side, I had some reliability and usability issues that I narrowed down to being caused by deCONZ. I bit the bullet and switched everything over to the in-built ZHA (Zigbee Home Automation) integration and have been very happy since.
A Second Zibee Setup
Sonoff Zigbee Bridge
Before switching out my coordinator at home, I had actually bought a second ConBee II for use in my office. I’ll detail that setup in some other blog post, but the relevant part is that I had issues there too. I replaced that one with a Sonoff Zigbee Bridge that I flashed with Tasmota. There are many guides out there on how to accomplish this, but you can also buy one pre-flashed from CloudFree.
Zigbee2MQTT
I also ended up replacing deCONZ there too, though it was a good bit after I’d switched to ZHA at home. I ended up running Zigbee2MQTT (z2m) instead both for ease of use and because z2m has a web interface that I could use locally from anything with a browser. Though I have been perfectly satisfied by ZHA, I’d probably use z2m if I was starting over simply because it has a better user experience. The only reason I am not using it now is that migration is tedious and time consuming.
Zigbee and Wi-Fi Coexistence
Before moving on, I want to call out explicitly that Zigbee and Wi-Fi utilize the same frequencies. This means that to avoid having problems with both you need to plan accordingly. I found the article “ZigBee and Wi-Fi Coexistence” on metageek to be supremely helpful. For me, this translated to telling my Wi-Fi gear to only use channels 1 and 6 and telling my Zigbee coordinator (by way of ZHA) to use channel 25. The image below was taken from that article and shows how this setup keeps each system from fighting with the other (I picked 25 even though 24 is shown in the image).
Putting Home Assistant To Use
With all that background out of the way, let’s get into my philosophies around automation and how I am actually using Home Assistant.
Baseline Philosophy On Automation
If you research the topic of home automation any at all, you quickly find that there are people who want their house to basically be autonomous… that’s not me. I firmly believe that automation should make things easier, not get in the way of ANYONE in your house… visitors included. For example, lights should still have physical switches and you shouldn’t have to alter the way your automations run just because someone is staying over.
Switches vs Smart Bulbs
Along those same lines, I tend to prefer smart switches over smart bulbs, where practical. Switches have two distinct advantages:
- Switches basically don’t wear out or need replacing as time goes on. They are a once-and-done upgrade. Anything can fail but, unlike bulbs, they are not designed to wear out.
- One switch can control any number of lights. If you have a room with a traditional switch controlling three lights you can continue controlling all three by swapping out the traditional one for a smart one. Alternatively, you could replace all three bulbs with smart ones and control them independently. The down sides to this are that bulbs wear out and you no longer have a physical switch to control the bulbs. The first costs more over the long haul and the second poses challenges for anyone visiting and any time your network isn’t working perfectly. Switches still work even when the network is down.
Smartified Things
There a few categories of things I’ve made smart:
- light switches
- light bulbs
- plugs
- thermostat
- thermometers (aka temperature sensors)
- the TV remote
Smart Plugs
I’ve progressively added more and more smart devices. My initial focus was on smart plugs as they are cheap and require next to no effort to install. They were added to our bedside lamps because the lamps were actually really hard to reach from the bed. Once they were added we could just tell the Echo to turn them on or off. I also added one to our Christmas tree. That one felt like a serious win as it not only meant I didn’t have to crawl under or wiggle behind the tree any more, but we could also have the tree come on automatically using the scheduling functions the plug provided.
Smart Switches
That was quickly followed by starting to install smart switches. I felt (and still feel) like they gave me the most bang for the buck. This also allowed me to start making a noticeable impact on our day to life by simplifying little things like turning all the lights in multiple rooms off when we left home by simply saying “Alexa, good bye.” It also helped when we returned home, especially when our hands were full, because I could say “Alexa, I’m home.”
Smart Bulbs
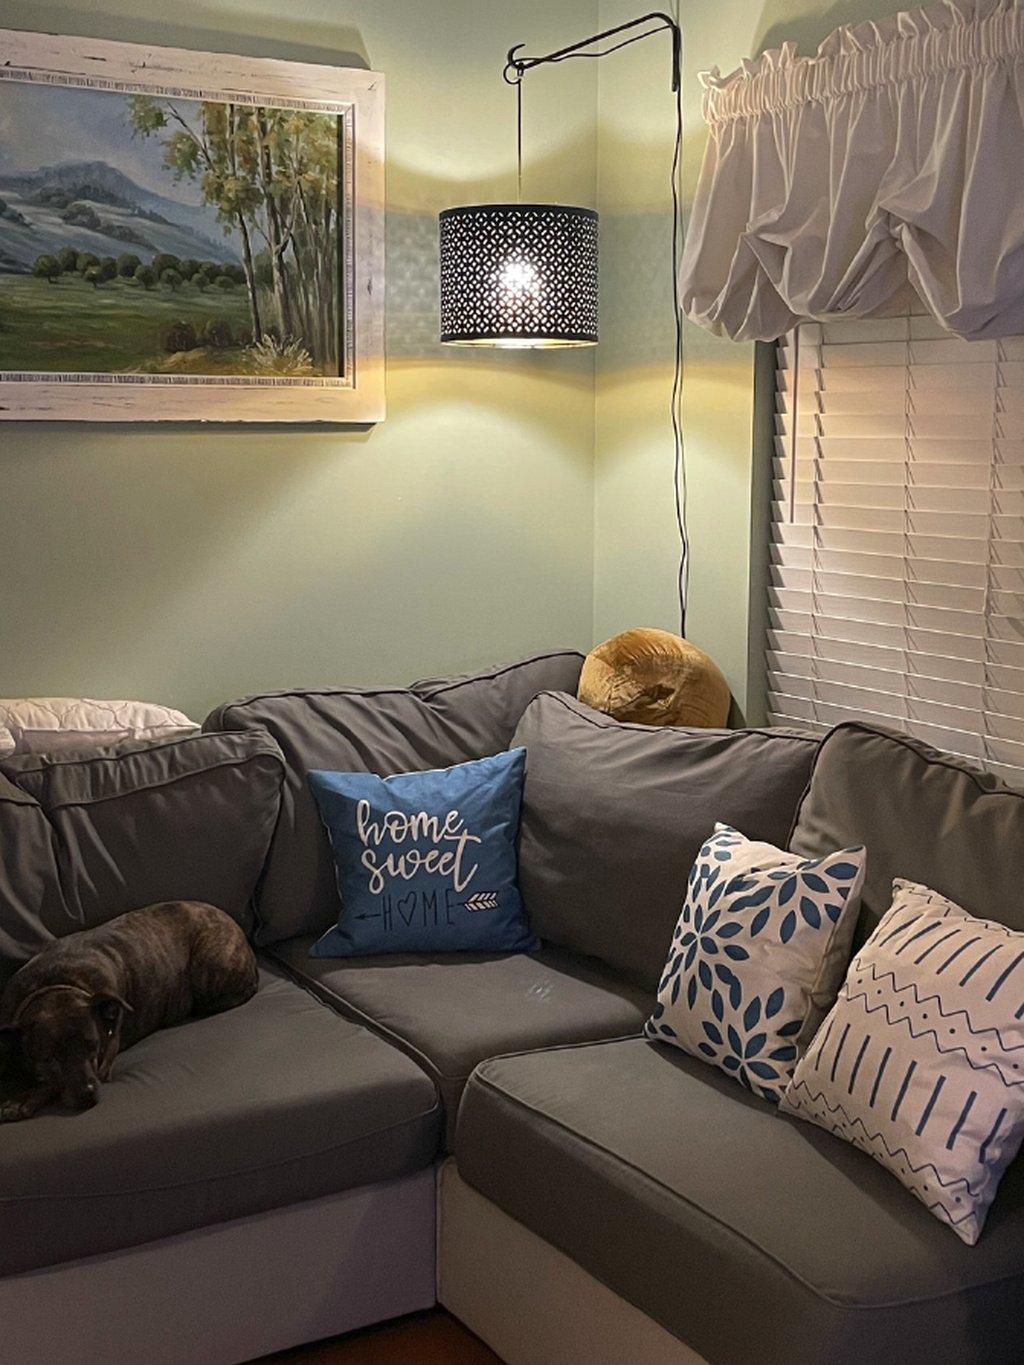
Next up was combining a HEMMA cord set, a NYMÖ Lamp shade, and a Philips Hue Soft White bulb to add light to places like above our couch and over the dresser in our nursery.
The lights over the couch were, and still are, really nice because we can have smaller amounts of light in more focused locations instead of one set of central, really bright lights on the ceiling. My wife and I both find this to be much easier on our eyes and significantly more effective when reading.
The light in the nursery was an inspired decision and likely one that we have gained the most benefit from since having a kid. Having this light and connecting it to an Amazon Echo gave us an effective night light, a way to do late night feedings without bright lights like from an overhead, and hands-free operation of the light and its brightness. When set at 1% it is dim enough to not interfere with sleep while still being bright enough that we were able to easy check on our kid without squinting. To further simplify things, and add a touch of automation, we added a Hue Dimmer that is mounted to the wall just inside the door. Having the dimmer, though not as nice as a wired one, allowed for easily brightening or dimming the light without saying a word.
Thermostats And Temperature Sensors
I have a Nest thermostat and temerature sensors in almost every room. The sensors are a combination of Aqara Temperature and Humidity Sensors and custom built ones. Building a sensor that is compact and nice looking turned out to be beyond my skill level so most of the ones I have are the Aqara ones. By having these sensors everywhere and having the data from them pulled into Home Assistant I can quickly see the temperature in the occupied part of the house and adjust the Nest accordingly.
One thing that I want to call out here is that Home Assistant is wht makes this possible. The Aqara sensors are Zigbee, my custom ones are Wi-Fi, and the Nest is read via a remote API. Home Assistant takes these three different systems and pulls them into a single place where I can work with them as if they were all from the same vendor.
TV Remote
I’ve got a Logitech Harmony Companion All in One Remote Control that controls my living room Roku TV and all the things connected to it. This allows me to control my TV as part of automations that I’ll discuss later.
Automations In Home Assistant
Up to this point, Home Assistant hasn’t really been used except superficially. It has some serious automation abilities that can span all the different products from all the different vendors utilized in my house. In my next post I am going to break down all the automations I currently have setup. Each breakdown will include details on the automation, the equipment involved, and why I think it’s worth having. I am not including this here simply because it would make this post way too long.


